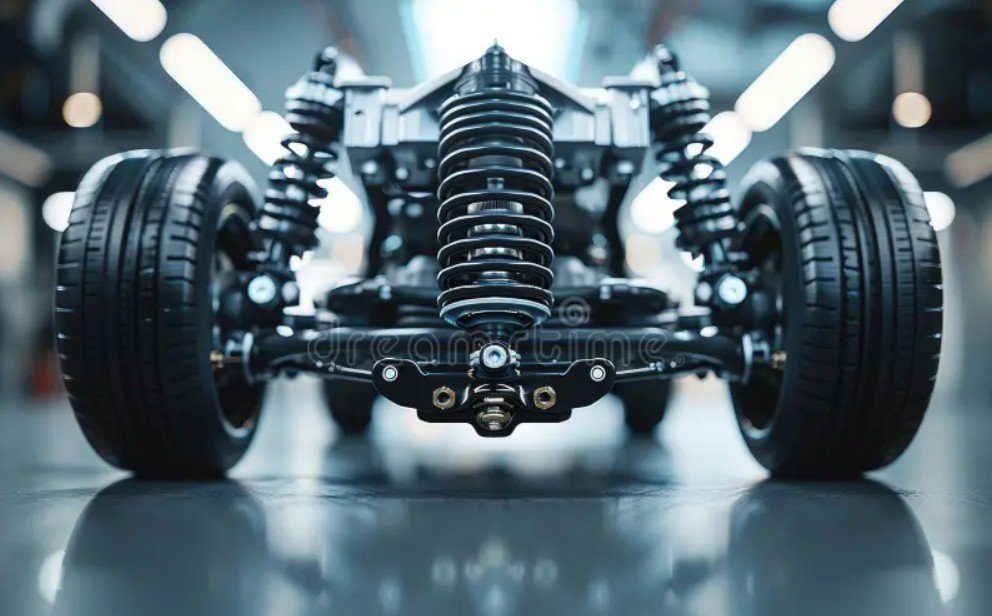
A smooth, predictable ride relies heavily on the health of a vehicle’s suspension system. Among the many components working tirelessly beneath your chassis, the lower control arm bushes (or bushings) play a paramount role in maintaining alignment, isolating road vibration, and ensuring stable handling. Because these components are subjected to constant pivoting, heavy impacts, and environmental exposure, they inevitably wear out over time.
Identifying a deteriorating control arm bush before it fails completely is vital for road safety and avoiding expensive secondary repairs. Cracking and internal rubber separation are the two primary modes of degradation. This comprehensive guide walks you through the step-by-step process of inspecting a lower control arm bush, identifying early warning signs, and determining when replacement is mandatory.
Understanding the Function of Lower Control Arm Bushes
To perform an effective inspection, it helps to understand what a control arm bush actually does. The lower control arm connects the wheel hub assembly to the vehicle’s frame or subframe. The bushes—typically constructed of an inner steel sleeve, an outer metal casing, and a flexible rubber or polyurethane core—act as the primary pivot points.
They allow the suspension to travel vertically over bumps while preventing horizontal fore-and-aft movement during braking and acceleration. Furthermore, the flexible elastomer dampens harsh road vibrations, keeping noise and harshness out of the passenger cabin. Over time, heat, road salt, engine oil leaks, and continuous torsional stress cause the rubber compound to harden, dry out, crack, and eventually tear away from its metal sleeves.
Key Symptoms of a Worn or Separated Control Arm Bush
Before lifting the vehicle for a visual check, pay attention to how the vehicle behaves on the road. A failing control arm bush rarely goes unnoticed if you know what to listen and feel for during daily driving:
- Clunking or Popping Sounds: A distinct knocking or clunking noise coming from the front suspension, particularly when driving over bumps, potholes, or making sharp turns.
- Steering Instability and Wandering: The vehicle may feel loose or dart to one side under heavy acceleration or hard braking as the control arm shifts out of position.
- Vibration in the Steering Wheel: Excessive movement allowed by worn rubber manifests as high-frequency vibrations through the steering column.
- Uneven Tire Wear: Excess camber or toe variations caused by loose bushes lead to accelerated wearing on the inner or outer edges of the front tires.
If any of these red flags are present, a hands-on physical inspection should be conducted immediately to verify the condition of the bushings.
Essential Tools Required for the Inspection
Performing a thorough diagnostic check requires minimal equipment, but safety and mechanical precision are essential. Before getting started, gather the following items:
- Hydraulic floor jack and heavy-duty jack stands
- Wheel chocks for the rear wheels
- High-lumen LED flashlight or inspection light
- Sturdy pry bar (18 to 24 inches in length)
- Wire brush or rag for cleaning dirt and grime
- Safety glasses and protective gloves
Never attempt to inspect under-car components supported solely by a hydraulic jack. Always set the vehicle securely on rated jack stands on a flat, level concrete surface before crawling underneath.
Step-by-Step Procedure: Inspecting for Cracking and Separation
Step 1: Vehicle Preparation and Elevation
Park the car on level ground, engage the parking brake, and place wheel chocks behind the rear tires. Loosen the front lug nuts slightly, jack up the front of the vehicle, and lower it firmly onto jack stands. For better visibility and leverage, remove the front wheels.
Step 2: Visual Inspection for Surface Cracking
Clean off accumulated road dirt, oil, and debris from around the lower control arm bushes using a wire brush or rag. Shine your flashlight directly onto the rubber surface surrounding the inner metal sleeve.
Inspect the rubber core carefully for:
- Dry Rot and Fine Surface Cracks: Small, spiderweb-like cracks indicate age and oxidation. While not an immediate emergency, they signal that the rubber is losing its elasticity.
- Deep Radial Cracks: Structural fissures that penetrate deep into the body of the rubber. If cracks extend across more than half of the bushing’s thickness, structural integrity is compromised.
- Oil Contamination: Soft, spongy, or swollen rubber caused by leaking engine oil or power steering fluid, which chemically breaks down the elastomer.
Step 3: Mechanical Stress Testing for Separation
Visual checks alone can miss hidden interior tears. This is where a pry bar becomes invaluable. Insert the blade of the pry bar between the control arm housing and the mounting subframe, adjacent to the bush.
Apply moderate leverage to gently pry the control arm back and forth. Watch the inner sleeve and outer rubber boundary closely:
- Normal Behavior: The rubber should flex slightly under pressure and spring back firm and center without excessive travel.
- Rubber Separation: If the rubber core rotates or detaches completely from the central metal sleeve or outer sleeve, total separation has occurred.
- Excessive Play: If the control arm moves freely with minimal effort or metallic contact occurs against the subframe bracket, the bushing has failed completely.
Gaining a practical understanding of chassis suspension geometry and diagnostic checks is a core skill taught in any quality car mechanic course, allowing technicians to differentiate between normal flex and unsafe mechanical failure.
Evaluating Damage: Micro-Cracks vs. Complete Separation
Not every crack demands immediate replacement on the same day. Distinguishing between normal cosmetic weathering and structural failure saves unnecessary expenses while keeping the vehicle safe:
- Minor Weathering (Monitor Regularly): Shallow surface cracks under 1–2 mm deep without any tearing or looseness during pry tests are acceptable for continued use, though they should be re-inspected during every oil change.
- Severe Cracking (Schedule Repair Soon): Deep splits running through the thickness of the rubber flex significantly under load. Replacement should be planned within the next few hundred miles.
- Separation / Tear-Through (Replace Immediately): When the inner sleeve separates completely from the rubber ring or the rubber is torn through, the suspension geometry collapses under dynamic loads, creating severe driver risk.
Best Practices for Control Arm Bush Replacement
When inspection reveals significant cracking or separation, replacing the damaged components promptly is essential. Keep these best practices in mind:
- Replace in Pairs: Always replace control arm bushes on both the left and right sides simultaneously to maintain uniform handling characteristics across the front axle.
- Consider Pre-Pressed Assembly Units: Pressing old bushes out and new ones into original control arms requires a hydraulic press. Installing complete new control arm assemblies pre-fitted with fresh bushes and ball joints is often faster and more cost-effective.
- Torque at Curb Height: When securing control arm bolts, tighten them to factory specifications only when the vehicle’s weight is resting back on its wheels (curb height). Torquing suspended arms twists the new rubber permanently, drastically shortening its service life.
- Perform a Wheel Alignment: Any work involving lower control arms alters camber and toe angles. Always schedule a 4-wheel alignment immediately following bush replacement.
Conclusion
Regular visual and physical inspections of lower control arm bushes are an essential aspect of preventative vehicle maintenance. By detecting rubber cracking and sleeve separation early with a pry bar and inspection light, you protect your tires from uneven wear, maintain tight vehicle handling, and prevent catastrophic suspension failure on the road.